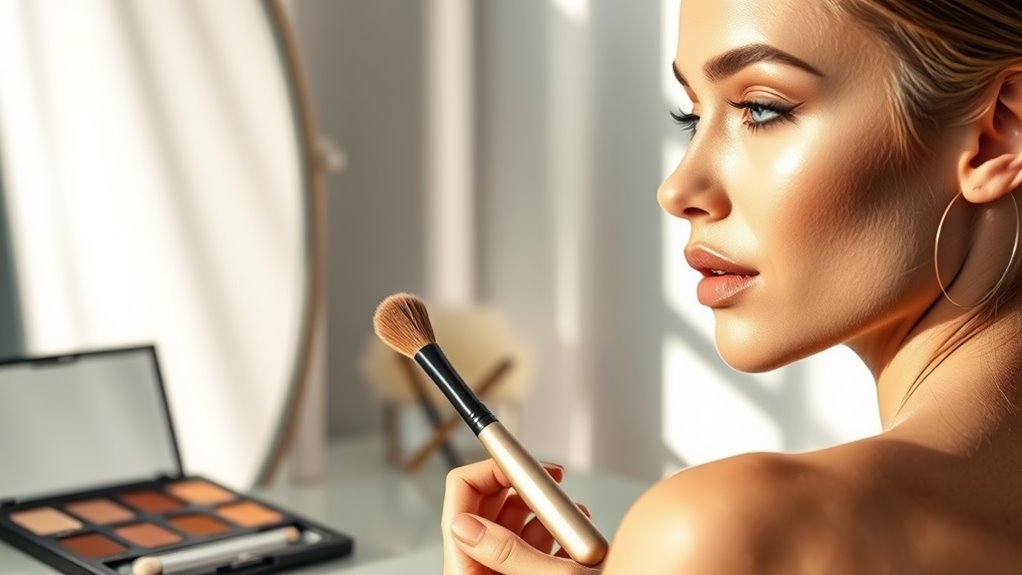
To master contouring for any face shape, start by grasping the basics of shadows and highlights. Choose products based on your skin type, like cream for dry skin or powder for oily skin. Identify your face shape to apply contour effectively, accentuating your features without masking them. Blend well to avoid harsh lines, and maintain your look with setting sprays and touch-ups. There's plenty more to explore about techniques and tools that will improve your contouring skills!
Understanding the Basics of Contouring
Contouring is like sculpting your face with makeup, enhancing your natural features during the creation of shadows and highlights. To master this art, you need to comprehend the basics, starting with color theory. Realizing how different shades interact with your skin tone is crucial for a seamless look. Forget contouring myths that claim you need an arsenal of products or complex techniques. With the right approach, you can achieve stunning results using just a few key items.
Begin by identifying your face shape, as this will guide where to apply your contour and highlight. Use a matte bronzer or a foundation shade slightly darker than your skin for contouring, whereas a lighter, luminous product serves as your highlighter. Keep it simple and focus on building depth and dimension, rather than overwhelming your features. Remember, the goal is to accentuate your beauty, not mask it. Blend thoroughly to ensure a seamless transition between the contour and highlight, creating a natural look. Additionally, consider how to choose room lighting, as the right lighting can impact how your makeup appears in different settings. Soft, diffused lighting is ideal for application, helping you achieve a balanced and flattering finish.
Choosing the Right Contouring Products
How do you know which contouring products are right for your skin type and desired look? Start with contour product selection, focusing on your unique skin texture and tone. If you have dry skin, cream formulas can provide hydration and a dewy finish, whereas oily skin types might prefer powder for a matte look.
Consider the versatility of both cream vs powder. Creams are fantastic for blending seamlessly, perfect for a natural glow, whereas powders can offer a more defined, sculpted appearance. Test different shades; a slightly darker hue than your foundation can create depth without appearing harsh.
Ultimately, it's about experimenting and finding what feels innovative and comfortable for you. Don't hesitate to mix products—layering a cream base with a powder finish can enhance your contour game. With the right products, you'll be on your way to perfecting the art of contouring!
Tools You Need for Contouring
When you're ready to contour, having the right tools is essential for achieving that flawless look. Start with high-quality contouring brushes; they're designed particularly for blending and defining your facial features. A tapered brush works wonders for precision applications, whereas a flat brush can help you lay down product smoothly.
Next, don't underestimate the strength of blending sponges. These versatile tools are perfect for seamless shifts, ensuring your contour looks natural rather than harsh. Dampen the sponge for a dewy finish or use it dry for more coverage.
Finally, consider a small, angled brush for detailed areas like the nose and under the cheekbones. With the right mix of contouring brushes and blending sponges, you'll enhance your contouring game, making it easier to sculpt and highlight your face to perfection. Get ready to experiment and find the tools that work best for you!
Contouring Techniques for Round Faces
When contouring a round face, you'll want to focus on highlighting the forehead area and defining the jawline. These techniques help create the illusion of length and structure. Let's explore how to achieve a balanced and flattering look!
Highlighting the Forehead Area
Highlighting the forehead area is a crucial step in contouring for round faces, as it can create the illusion of length and balance. Grasping your forehead shapes helps you choose the right technique. Here's a quick guide to innovative highlighting techniques:
| Forehead Shape | Highlighting Technique |
|---|---|
| Short Forehead | Apply highlighter at the center, blending outwards. |
| Average Forehead | Highlight the top edge with a soft arc. |
| Long Forehead | Use a subtle line across the entire forehead. |
Defining the Jawline
Defining the jawline is essential for achieving a sculpted look, especially for round faces. By using contouring shadows effectively, you can create a stunning jawline definition that raises your entire appearance. Here's how to do it:
- Choose a contour shade two shades darker than your skin tone.
- Apply the contour along the jawline, blending well for a seamless finish.
- Focus on the area just below the chin to eliminate any unwanted fullness.
- Highlight the chin with a lighter shade to improve contrast.
- Set it all with a translucent powder for longevity.
This innovative approach to jawline definition transforms your profile, giving you that chic, defined look you've always wanted. Embrace these techniques and watch your confidence soar!
Contouring Techniques for Oval Faces
While oval faces are often regarded as the most adaptable for contouring, perfecting the technique can still improve your natural features. Start by emphasizing your cheekbones with a subtle contour placement. Use a matte bronzer just below the cheekbone, blending it towards your temples for a seamless look.
Next, contour your forehead lightly, as oval faces benefit from a balanced appearance. Apply bronzer along your hairline, ensuring it's well-blended to maintain that fresh vibe.
To boost your jawline, apply a little contour beneath your chin, blending downwards for a natural finish.
Finally, don't forget to highlight! The bridge of your nose and the tops of your cheekbones are perfect spots to catch the light. This approach will accentuate the natural symmetry of your oval face, allowing your features to shine without overpowering them. Now you're ready to rock that innovative, sculpted look!
Contouring Techniques for Square Faces
If you have a square face, contouring can help soften your strong jawline and forehead edges. By strategically highlighting your cheekbones, you can create a more balanced look. Let's explore the techniques that will improve your natural features and flatter your face shape.
Defining Jawline Angles
To achieve a beautifully sculpted jawline on a square face, focus on softening the angles as you improve your natural features. Start by applying contouring techniques to the jawline, emphasizing its definition as you create a more refined look. Here's how to do it effectively:
- Use a cream or powder contour two shades darker than your skin tone.
- Apply it along the jawline, blending well toward the ears.
- Highlight the center of your chin to draw attention upward.
- Consider a soft blush on your cheeks to balance the look.
- Finish with a setting spray for longevity.
These tips will transform your jawline, making it beautifully defined yet effortlessly soft, giving you that innovative edge you desire.
Softening Forehead Edges
Softening the forehead edges is crucial for square faces, as it creates a more harmonious balance between your features. To achieve this, select contouring products that suit your skin tone and blend them seamlessly along the hairline. Focus on the corners of your forehead, applying a darker shade to round the edges. This technique softens the angular appearance typical of square forehead shapes. Use a light hand and a fluffy brush for a natural finish; blending is key! Don't forget to step back and assess your work in different lighting to guarantee a flawless look. By perfecting this technique, you'll redefine your forehead's silhouette and enhance your overall makeup game.
Highlighting Cheekbones Strategically
Highlighting your cheekbones strategically can boost your contouring game and improve your square face shape. By focusing on cheekbone placement, you can create that coveted sculpted look. Here are some innovative highlight techniques to enhance your makeup routine:
- Apply highlighter just above your cheekbones for a lifted effect.
- Use a fan brush for precise application and a natural finish.
- Blend from your temples down in the direction of your lips for seamless shifts.
- Experiment with cream highlighters for a dewy, fresh glow.
- Finish with a setting spray to lock in your stunning look.
Contouring Techniques for Heart-Shaped Faces
In relation to contouring heart-shaped faces, there are three key techniques that can help you achieve a balanced and flattering look. First, focus on contour placement along the jawline to soften the angularity of your chin. This creates a more harmonious silhouette. Next, apply contour on the sides of your forehead, blending away from the temples. This technique helps reduce the width at the top of your face, providing a more oval appearance.
For cheekbone improvement, strategically place highlighter on the apples of your cheeks and blend upwards. This not only accentuates your cheekbones but also draws attention away from the forehead's width. Finally, don't forget to blend, blend, blend! Using a damp sponge or brush guarantees a seamless finish that looks natural and chic. Master these techniques, and you'll be ready to rock that heart-shaped beauty with confidence!
Contouring Techniques for Long Faces
If you've got a long face, contouring can help create balance and softness. Start by highlighting your forehead to add width, then soften your jawline angles for a more rounded look. Finally, work on balancing your cheekbone structure to improve your overall features.
Highlighting Forehead Width
To create the illusion of a balanced forehead width on long faces, you can strategically apply contouring techniques. By perfecting contouring shadows, you'll improve your forehead dimensions and boost your confidence. Here's how to innovate your routine:
- Use a lighter shade to highlight the center of your forehead.
- Apply contouring shadows along the sides to visually shorten the length.
- Blend well for a seamless finish that feels natural.
- Experiment with different products to find what resonates with you.
- Trust your instincts—make it your own!
With these techniques, you'll transform your makeup game and embrace your unique beauty. Don't hesitate to explore and redefine your look; innovation is key to perfecting contouring!
Softening Jawline Angles
How can you soften those sharp jawline angles and create a more rounded appearance? To achieve this, focus on innovative jawline shaping techniques during your makeup application. Start by using a cream contour that's a few shades darker than your skin tone. Apply it along the jawline, blending it downwards to create a seamless shift. This technique reduces the prominence of angular features. Next, use a highlighter on the chin and just above the jawline to add softness and dimension. Remember, the key is to blend well; harsh lines can defeat the purpose. Finally, finish with a light dusting of setting powder to lock in your work, ensuring your beautifully contoured jawline lasts all day.
Balancing Cheekbone Structure
During mastering contouring for long faces, balancing your cheekbone structure is essential for achieving a harmonious look. To improve your cheekbones, focus on strategic contour placement. Here's how to raise your beauty game:
- Create depth by applying a darker shade below your cheekbone.
- Highlight the tops of your cheekbones to catch the light.
- Blend seamlessly for a natural finish.
- Use a warm blush on the apples of your cheeks for a pop of color.
- Avoid harsh lines, as they can elongate your features.
Highlighting: The Perfect Complement to Contouring
Highlighting acts as the perfect complement to contouring, bringing balance and dimension to your makeup look. By strategically applying light to specific areas of your face, you can improve your features and create a stunning contrast with your contour. Explore innovative highlighting techniques, such as the strobing method or using a fan brush for precision.
When it comes to selecting highlighting products, consider cream formulas for a dewy finish or powder highlights for a more dramatic effect. Liquid illuminators are likewise a fantastic option for those who crave a radiant glow.
To achieve an effortlessly luminous look, focus on your cheekbones, brow bones, and the bridge of your nose. Don't shy away from experimenting with different colors and textures to find what showcases your unique beauty. With the right highlighting techniques and products, you'll raise your contouring game and achieve a flawless, radiant complexion.
Common Contouring Mistakes to Avoid
Many people make common mistakes in regard to contouring, which can lead to an unflattering finish. To achieve that sought-after glow, it's essential to master the basics. Here are some pitfalls you need to avoid:
- Skipping the foundation layer, which creates a patchy look
- Using the wrong shade, making your contour appear muddy
- Applying too much product, resulting in that dreaded cakey effect
- Forgetting to blend, which leads to harsh lines that scream for attention
- Neglecting the correct product application for your skin type
How to Blend Your Contour Seamlessly
Getting your contour right is only half the battle; blending it seamlessly is what truly brings your look together. To achieve that flawless finish, you need to understand color theory. Start by choosing shades that complement your skin tone, ensuring they harmonize rather than clash.
Next, employ effective blending techniques. Use a damp beauty sponge for a natural look, tapping rather than dragging to diffuse harsh lines. On the other hand, a soft, fluffy brush can work wonders for larger areas. Remember, blending is about building; add product gradually and blend as you go.
Don't forget to check your work in different lighting—what looks good in one light might not in another. Finally, keep your tools clean to avoid muddying your masterpiece. With these tips, you'll enhance your contouring game and achieve that enviable, airbrushed effect!
Maintaining Your Contour Throughout the Day
To keep your contour looking fresh all day long, you need a few key strategies in your beauty arsenal. With the right techniques, you'll maintain that flawless look from morning to night. Here are some innovative tips to guarantee your contour stays put:
- Opt for a quality setting spray to lock in your makeup.
- Carry a small contour kit for quick setting touch ups throughout the day.
- Use translucent powder on oily areas to prevent shine.
- Blot gently with oil-absorbing sheets to keep your skin looking fresh without disturbing your makeup.
- Avoid touching your face to maintain your masterpiece!
Frequently Asked Questions
Can I Contour Without Using Makeup?
Absolutely, you can contour without using makeup! Instead of traditional products, try innovative techniques like face yoga or facial massage to improve your natural features. Focus on your face shape and use your fingers or tools to sculpt and define. Consider using skincare products that promote glow and hydration, giving your skin a naturally contoured look. With these methods, you'll achieve dimension and radiance, all during embracing your unique beauty!
How Often Should I Contour My Face?
You don't have to contour your face every day except if you love that polished look. Daily contouring can feel heavy, so consider using contouring techniques that improve your features naturally. For special occasions or when you want to stand out, go for it! Experiment with different products and styles to find what works best for you. Remember, it's all about balance and highlighting your unique beauty without overdoing it.
Is Contouring Suitable for All Skin Types?
Contouring compatibility creates enchanting looks! Yes, contouring can suit all skin types, but you'll want to customize your techniques. For oily skin, powder products work wonders, whereas cream formulas flatter dry skin beautifully. If you've got sensitive skin, opting for hypoallergenic products guarantees you glow without irritation. Experimenting with different contouring techniques helps you discover what improves your unique features best. Embrace innovation and adapt your approach for ideal skin type compatibility!
Can Contouring Help With Acne Scars?
Yes, contouring can definitely help minimize the appearance of acne scars! By using clever makeup techniques, you can create shadows and highlights that distract from uneven texture. Start by applying a primer to smooth your skin, then use a good concealer on the scars. Blend contour shades carefully to sculpt your face, drawing attention away from imperfections. With practice, you'll find the right balance to achieve a flawless look that boosts your confidence.
What's the Difference Between Contouring and Bronzing?
You might wonder about the difference between contouring and bronzing. Contouring techniques sculpt your face, creating shadows where you want to define features, whereas bronzing products add warmth and a sun-kissed glow. Contouring often uses matte shades to achieve depth, whereas bronzers typically have a shimmery finish. Comprehending this distinction allows you to innovate your makeup routine, enhancing your natural beauty as you achieve that perfect balance between definition and radiance.