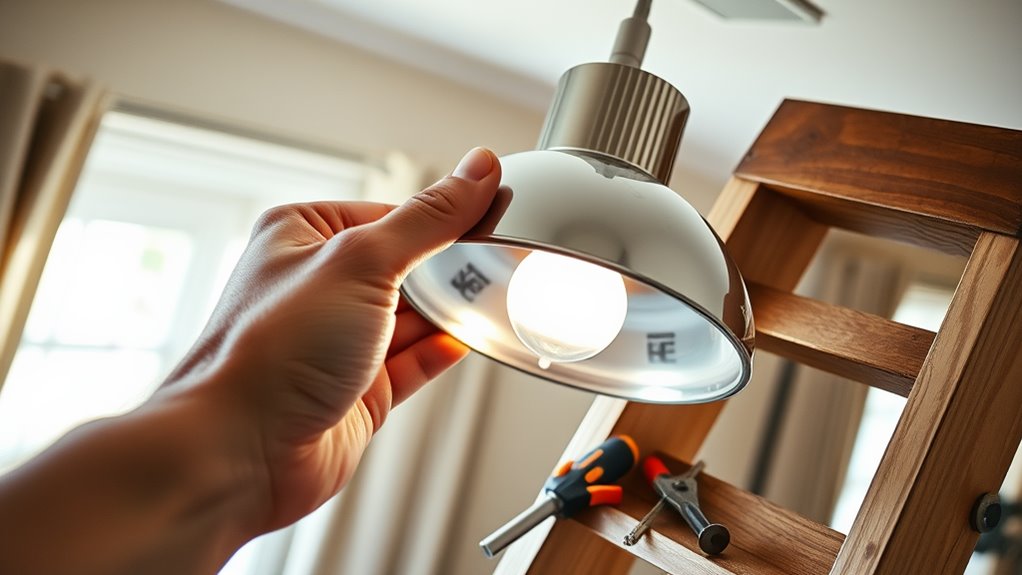
To install a new light fixture without calling an electrician, gather your tools like a screwdriver and voltage tester. First, turn off the electricity at the circuit breaker. Next, safely remove the old fixture, disconnecting the wires—black to black and white to white. Prepare your new fixture, confirming it's undamaged and compatible with your existing setup. Finally, install the new fixture, restore electricity, and test it to verify it works. You'll find more detailed steps ahead.
Gather Your Tools and Materials
Before plunging into your light fixture installation, it's vital to gather the right tools and materials. You'll need a few fundamental tool types to guarantee the job goes smoothly. Grab a screwdriver, wire stripper, and a voltage tester; these are your primary allies. Don't forget a ladder for reaching those higher spots!
When it comes to material selection, choose a light fixture that complements your space and suits your electrical requirements. Check the wattage and compatibility with your existing wiring to avoid any mishaps. It's additionally wise to have wire nuts and electrical tape on hand, as they'll help secure connections safely.
Turn Off the Power
Before you start working on your new light fixture, you need to guarantee safety by turning off the electricity. Locate the circuit breaker that controls the light you'll be replacing, and switch it off. To double-check, use a voltage meter to confirm that the electricity is truly off.
Locate the Circuit Breaker
How can you guarantee safety during the installation of a new light fixture? Start by locating the circuit breaker. Comprehending circuit breaker types is essential, as they vary by home. You'll typically find the circuit breaker location in your basement, garage, or utility room. Once you've found it, identify the breaker that controls the light fixture's circuit—this is often labeled. If not, you may need to flip breakers one by one until you find the right one. After pinpointing it, switch it off. This action cuts energy to the fixture, ensuring you're working safely without any risk of electric shock. Taking control of this step lays a solid foundation for your installation process.
Test With Voltage Meter
After you've turned off the electricity at the circuit breaker, it's crucial to test the light fixture with a voltage meter to guarantee there's no remaining electricity. Start by gathering your voltage testing tools and safety precautions like gloves and goggles. Turn the meter on and set it to the correct voltage range. Carefully touch the probes to the wires in the fixture. If the meter reads zero, you're safe to proceed; if it shows any voltage, keep the electricity off and double-check your circuit breaker. This step isn't just about following instructions—it's about taking control of your safety and ensuring a smooth installation. Remember, there's no room for error regarding electricity!
Remove the Old Light Fixture
Now that you've turned off the energy, it's time to remove the old light fixture. Start by taking off the cover plate and then carefully disconnect the wiring. Make sure you handle everything safely to avoid any accidents.
Turn Off Power
Before you remove the old light fixture, it's vital to turn off the electricity at the circuit breaker. This step is important for your safety and gives you complete control over the energy sources. Locate the breaker that controls the light fixture, and switch it off. Double-check that the energy is off by flicking the light switch; if it doesn't turn on, you're good to go. Remember, safety precautions are non-negotiable here. You're taking charge of your space, so don't rush—ensure that all energy sources are safely cut off. Once you've confirmed the electricity is off, you can confidently proceed with removing the old fixture without any risk of electrical shock. Your project, your rules!
Remove Cover Plate
To kick off the removal of your old light fixture, start by taking off the cover plate. Depending on the cover plate type—whether it's a simple screw-in or a snap-on—you'll need different installation techniques to remove it. If it's held in by screws, grab a screwdriver and loosen them carefully. For snap-on types, gently pry it off with a flathead screwdriver. Be cautious not to damage the ceiling or the plate itself. Once you've got the cover plate off, you'll have clear access to the fixture beneath. Remember, maintaining control during this process guarantees a smooth shift to your new light fixture. Keep everything organized, and stay focused to avoid any mishaps.
Disconnect Wiring Safely
With the cover plate removed, you can access the wiring of the old light fixture. Before you start, verify the electricity is completely off at the circuit breaker to prevent any wiring hazards. Now, carefully identify the wires: typically, you'll find a black (hot), white (neutral), and green or bare (ground) wire. For a safe disconnect, use a screwdriver to loosen the wire connectors and gently pull the wires apart. Make certain not to touch any exposed wire ends. If you encounter any difficulty or uncertainty, don't hesitate to consult a quick reference guide or video. Once you've safely disconnected the wires, you're ready to move on to installing your new light fixture confidently.
Prepare the New Light Fixture
Once you've chosen your new light fixture, it is essential to prepare it properly for installation. Start by unpacking the fixture and laying all components out. Check for any damage and verify you have all necessary parts, including mounting brackets and screws. Familiarize yourself with the fixture styles you've selected, as each may have different installation requirements.
Next, identify the light bulb types compatible with your fixture. Whether you're using LED, incandescent, or fluorescent bulbs, make certain you have them on hand. This way, you can test the fixture right after installation. If your fixture includes additional features, like dimmers or smart capabilities, read through the instructions carefully to understand how to wire them correctly.
Taking the time to prepare effectively will give you the confidence you need for a seamless installation process.
Install the New Light Fixture
Begin by turning off the energy to the existing light fixture at the circuit breaker. Now, it's time to install your new light fixture. If you've chosen a stylish pendant or a sleek flush mount, gather your tools: a screwdriver, wire connectors, and electrical tape. Securely attach the mounting bracket that comes with your fixture to the ceiling box.
Next, connect the wires. Match the black (or red) wire from the fixture to the black wire in the ceiling, and the white wires together. If your fixture has a ground wire, connect it to the green or bare copper wire. Follow the installation tips specific to your chosen light fixture style for a seamless fit. Once everything's connected, carefully tuck the wires back into the ceiling box and attach the fixture to the bracket. Finally, verify it's secure before moving on to the next steps.
Restore Power and Test the Fixture
Now that your new light fixture is securely installed, it's time to restore energy and test it. First, head back to your circuit breaker and flip the switch back on. Before you do, double-check that all wires are properly secured and that no exposed wires are showing—safety precautions are key here. Once the electricity's restored, flip the switch and see if the light turns on. If it doesn't, don't panic! Use these troubleshooting tips: verify the light bulb is properly screwed in, check the circuit breaker for any tripped switches, or confirm that the wiring connections are tight. If you've gone through these steps and it still doesn't work, it might be time to reassess your installation. Taking control of this process enables you to resolve issues without needing to call an electrician. Enjoy your new light fixture!
Frequently Asked Questions
Can I Install a Light Fixture in a Damp Location?
Yes, you can install a light fixture in a damp location, but you need to take into account a few important factors. Make certain to choose moisture-resistant fixtures designed for such environments. These fixtures help prevent water damage and electrical issues. Furthermore, guarantee proper sealing and use appropriate wiring methods to improve safety. Taking these damp location considerations seriously will assure your installation lasts and functions effectively, giving you peace of mind.
What if the Wires Are Different Colors?
If you find yourself staring at a tangled mess of wires that looks like a rainbow exploded, don't panic! Comprehending wire color coding is essential for wiring safety. Typically, black wires are hot, white ones are neutral, and green or bare wires are ground. If the colors don't match up, check your fixture's instructions. Just remember, safety first—double-check connections and verify the electricity's off before you plunge in! You've got this!
How Do I Choose the Right Wattage for My New Fixture?
Choosing the right wattage for your new fixture is essential for both energy efficiency and ambiance. Start with a wattage calculation based on the size of the room and the fixture's purpose. Typically, you'll want about 20 lumens per square foot for general lighting. Consider using LED bulbs, as they provide brightness with lower wattage, saving you money on energy bills. You've got the ability to create the perfect lighting for your space!
Are There Specific Fixtures for Ceiling vs. Wall Installation?
Yes, there are specific fixture types designed for ceiling or wall installation. When you choose a fixture, consider the installation height; it can impact both functionality and aesthetics. For ceilings, you might opt for flush mounts or pendants, whereas wall sconces or vanity lights work best for walls. By selecting the right fixture type, you'll guarantee ideal lighting and improve your space's overall look. Take control of your lighting choices and make it work for you!
What Safety Gear Should I Wear While Working?
When you're working on electrical projects, prioritizing safety gear is vital. You'll want to wear safety goggles to protect your eyes from debris and any accidental sparks. Furthermore, rubber gloves are important; they provide insulation and protect your hands from electrical shock. By equipping yourself with these items, you gain control over your safety, allowing you to focus on the task at hand without unnecessary risks. Stay safe and work confidently!