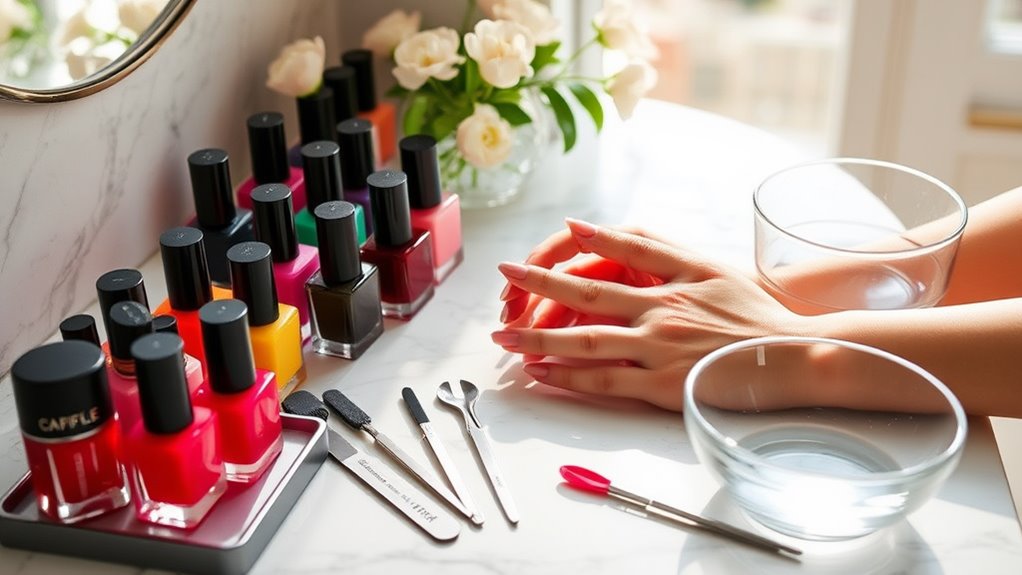
To get salon-worthy nails at home, start with a quality manicure kit and prep your nails by removing old polish and shaping them. Use a base coat for a smooth application, then apply thin layers of your chosen polish. Finish with a top coat for shine and durability. Don't forget to hydrate your cuticles and choose non-toxic products. With the right techniques, you'll achieve a professional look in no time—discover even more tips to enhance your nail game!
Essential Tools for At-Home Nail Care
To achieve salon-worthy nails at home, you need the right tools in your kit. Investing in high-quality nail care tools is key to transforming your DIY experience. Start with a thorough manicure kit that includes vital items like cuticle pushers, nail clippers, and files. These tools aren't just for aesthetics; they're important for maintaining nail health.
Consider adding a buffer to improve shine and smoothness, along with a nail brush for cleanliness. Don't overlook a good-quality base and top coat; they provide a solid foundation and a long-lasting finish.
If you’re feeling adventurous, explore innovative gadgets like electric nail files or UV lamps for gel polish. With the right nail care tools at your fingertips, you can raise your at-home manicure game and enjoy nails that look professionally done. Get ready to impress with your newfound skills! You can also experiment with creative nail art designs using stamping kits or fine detail brushes to add a personal touch to your manicure. Just like finding the best budget home decor hacks to refresh your space without overspending, investing in affordable yet effective nail tools can elevate your beauty routine. With a little practice and the right techniques, you’ll achieve salon-quality nails from the comfort of your home!
Preparing Your Nails for the Perfect Manicure
Before plunging into your manicure, it's vital to prepare your nails properly to guarantee the best results. A little preparation goes a long way in enhancing both nail health and the overall look. Here's how to get started:
- Cleanse: Remove any old polish and wash your hands thoroughly to eliminate dirt and oils. This sets a fresh base for your manicure.
- Shape: Use a file to shape your nails. Whether you prefer square or oval, a uniform shape creates a polished appearance.
- Cuticle Care: Gently push back your cuticles and trim any excess. Healthy cuticles contribute to nail strength, preventing hangnails and promoting growth.
Step-by-Step Nail Painting Techniques
Now that your nails are prepped, it's time to master the art of painting them. You'll learn crucial nail preparation, effective polishing techniques, and those all-important finishing touches. With these steps, you'll achieve salon-worthy results right at home!
Nail Preparation Essentials
Achieving salon-worthy nails at home starts with proper preparation, and this crucial step can make all the difference. To guarantee your nails are primed for polish, follow these key nail care fundamentals: Begin by gently pushing back your cuticles and filing your nails into your desired shape to create a smooth foundation. Next, remove any oils or residue with a swipe of nail polish remover to ensure the polish adheres properly. While you pamper your nails, you might also want to learn how to order food in Thailand, so you can confidently enjoy delicious local cuisine on your next trip.
- Remove Old Polish: Use an acetone-free remover to gently wipe away any previous color, guaranteeing a clean canvas.
- Cuticle Treatment: Soak your fingers in warm water, then apply cuticle oil. Gently push back the cuticles with a wooden stick to create a neat edge.
- Buff and Shape: File your nails to your desired shape and buff the surface lightly to smooth out imperfections.
These steps not just improve your nail's appearance but additionally promote healthy growth, setting the stage for a flawless polish application.
Polishing Techniques Explained
Perfecting the art of nail painting involves several key techniques that can improve your at-home manicure to salon standards. First, verify your polish consistency is ideal—thinner formulas may require more coats, whereas thicker ones can clump. Start with a base coat to create a smooth canvas. When applying polish, hold your brush at a 45-degree brush angle, allowing for better control. Begin at the cuticle, gently pushing the polish in the direction of the tip in one fluid motion. This technique helps prevent streaks and uneven coverage. For the best results, apply two to three thin layers, letting each coat dry completely. Finish with a top coat for a glossy finish that seals your hard work, giving you those enviable, salon-worthy nails.
Finishing Touches Tips
Even though you may have mastered the application of nail polish, the finishing touches are what truly improve your manicure. These final steps raise your nail care routine, ensuring your nails look flawless and professional.
Here are three crucial finishing touches tips:
- Clean Up Edges: Use a small brush dipped in nail polish remover to clean any stray polish around the edges for a sharp look.
- Top Coat: Apply a high-quality top coat to seal your color and add a glossy finish, boosting durability.
- Cuticle Oil: Finish with cuticle oil to nourish your cuticles and give your nails a well-groomed appearance.
Nail Art Ideas for Every Skill Level
Ready to express your creativity? Whether you're just starting out or have a bit of experience, simple dot designs, stripes, and floral accents can enhance your nail game. Let's explore these fun nail art ideas that fit every skill level!
Simple Dot Designs
Creating simple dot designs on your nails can transform an ordinary manicure into something eye-catching and fun. You don't need to be a pro to nail these innovative styles; just pick your favorite dot color combinations and let your creativity flow! Here are three easy ideas to get you started:
- Gradient Dots: Use different shades of the same color to create a stunning gradient effect.
- Polka Dot Pattern: Alternate contrasting colors for a classic yet playful look.
- Cluster Dots: Group dots together in a few strategic areas for a more artistic flair.
Experiment with various dot pattern variations to truly make your nails pop. With just a little practice, you'll have salon-worthy nails right at home!
Stripes and Lines
Stripes and lines can instantly improve your nail art game, no matter your skill level. Whether you're a beginner or a pro, incorporating striped patterns into your design can create a chic and modern look. For a simple twist, try alternating colors for bold contrast or use metallic hues for an eye-catching effect. Line techniques can boost your nails further—think sleek vertical lines or playful zigzags. You can use striping tape for precision or a fine brush for more intricate designs. Experiment with different widths and orientations to find what resonates with your style. With a little creativity, your nails can become a canvas for stunning striped and lined artistry that'll turn heads!
Floral Accents
Adding floral accents to your nail art can improve your design and infuse it with a fresh, lively look. Whether you're a beginner or a pro, there are endless ways to incorporate stunning floral patterns. Here are three innovative ideas to try:
- Seasonal Blooms: Choose flowers that reflect the current season, like cherry blossoms for spring or sunflowers for summer.
- Negative Space Florals: Use clear polish on parts of the nail to create a modern, minimalist floral design that lets your natural nail shine through.
- Mixed Media: Combine floral decals with hand-painted elements for a unique, textured effect.
Experiment with these ideas, and you'll create salon-worthy nails that showcase your creativity!
Tips for Maintaining Healthy Nails
Though achieving stunning nails at home is a goal for many, maintaining their health is equally important. Start by prioritizing nail health through a balanced diet rich in vitamins A, C, and E. These nutrients promote strong, resilient nails. Don't forget about cuticle care; keeping your cuticles hydrated prevents hangnails and brittleness. Use a nourishing cuticle oil regularly, massaging it in to boost circulation and encourage growth.
Limit exposure to harsh chemicals by opting for non-toxic nail products. Remember to give your nails a break from polish every few weeks, allowing them to breathe and rejuvenate. When you do polish, always apply a base coat to protect against staining and damage. Finally, stay hydrated—drinking plenty of water keeps your nails moisturized from the inside out. By following these tips, you'll not just flaunt gorgeous nails but also guarantee they remain healthy and strong.
Choosing the Right Nail Products
When you're ready to improve your at-home manicure, choosing the right nail products is vital for achieving that salon-worthy finish. Your nail polish selection can make all the difference, so opt for high-quality brands that offer lively colors and long-lasting formulas. Don't underestimate the base coat importance; it not only protects your nails but furthermore helps your polish adhere better, extending its wear.
Here are three key nail products to reflect on:
- Base Coat: Invest in a strong base coat to prevent staining and improve polish longevity.
- Nail Polish: Choose a formula that promises durability and a polished look. Gel or quick-dry options can be game-changers.
- Top Coat: Finish with a glossy top coat to seal in your color and add shine.
Common Mistakes to Avoid When Doing Your Nails
To achieve that flawless manicure, it's essential to steer clear of common mistakes that can ruin your hard work. Nail care isn't just about the products; it's about the process. Here are some application errors to avoid:
| Mistake | Consequence | Solution |
|---|---|---|
| Skipping base coat | Increased chipping | Always apply a base coat |
| Applying thick layers | Longer drying time | Use thin, even coats |
| Overusing cuticle oil | Greasy, slippery nails | Use sparingly and wisely |
| Neglecting top coat | Dull finish | Always finish with a top coat |
Frequently Asked Questions
How Often Should I Change My Nail Polish?
You should change your nail polish every 5 to 7 days for ideal nail polish longevity. This frequency helps prevent chipping and maintains a fresh look. If you notice signs of wear or your polish starts to fade, don't hesitate to switch it up sooner. Experimenting with colors and finishes keeps your style innovative and exciting. Plus, regular changes can keep your nails healthier and looking their best!
Can I Use Regular Polish With Gel Topcoat?
Yes, you can use regular polish with a gel topcoat! This combination offers gel topcoat benefits like improved shine and durability. To achieve the best results, start by applying your favorite regular polish in thin layers. Once dry, carefully apply the gel topcoat using smooth, even strokes. Make sure to cure it under a UV or LED lamp for a flawless finish. This innovative technique lets you enjoy salon-quality nails right at home!
What Are the Signs of Nail Damage?
If your nails resemble a disaster zone, you might be witnessing signs of nail damage! Look for peeling, splitting, or discoloration—these scream for attention in the area of nail care. You'll notice changes in texture, like roughness or brittleness, which signal a cry for help regarding nail health. Pay close attention, as nurturing your nails can transform them from tragic to fabulous. Your nails deserve the best, so act before it's too late!
How Can I Remove Glitter Polish Easily?
To remove glitter polish easily, you'll want to grab some glitter remover. Start by soaking a cotton ball with the remover and place it on your nail. Wrap it in aluminum foil for about 10-15 minutes. This method helps break down the glitter particles. Once the time's up, gently wipe the polish off. If there's any stubborn glitter left, repeat the soaking process. You'll be amazed at how quickly it comes off!
Is It Safe to Do My Nails During Pregnancy?
You're thinking about nail care and wondering about pregnancy safety. Although it's typically safe to do your nails during pregnancy, you should take a few precautions. Use non-toxic, low-odor products, avoid harsh chemicals, and guarantee proper ventilation. Listening to your body is key; if you feel dizzy or unwell, take a break. Prioritizing your health and your baby's wellbeing as you enjoy some self-care can create a beautiful balance during this special time.